The popularity of allotments has seen a resurgence in the UK in recent years. If you’re eager to rent a piece of land and start growing your own fruit and veg, this guide will tell you everything you need to know, from how to rent a plot to exactly when and how to plant the most popular fruits and vegetables grown in the UK.
Although the process of hiring your own allotment can seem daunting, renting and running one is easier than a lot of people realise. This guide will break the entire process down for you, giving you all the information you need to rent a plot and start growing your favourite produce.
How did allotments start?
The allotment system we recognise today has its roots in the 19th century, when the rapid industrialisation of the country led to a national shortage of food. To solve this problem, which was exacerbated by the lack of a welfare state, the government set aside land for the labouring class to produce their own food.
In 1908 the Small Holdings and Allotments Act was implemented, which placed a duty on local councils to provide a sufficient amount of allotments for their constituents. In 1919, the Land Settlement Facilities Act was passed, making land available to everyone, not just the working poor, in order to assist the servicemen returning from the First World War.
The Allotments Act was passed in 1925, establishing statuary allotments that local authorities could not sell off or convert without ministerial consent, making the allotment a national institution that stands to this day.
What are allotments and what are they used for?
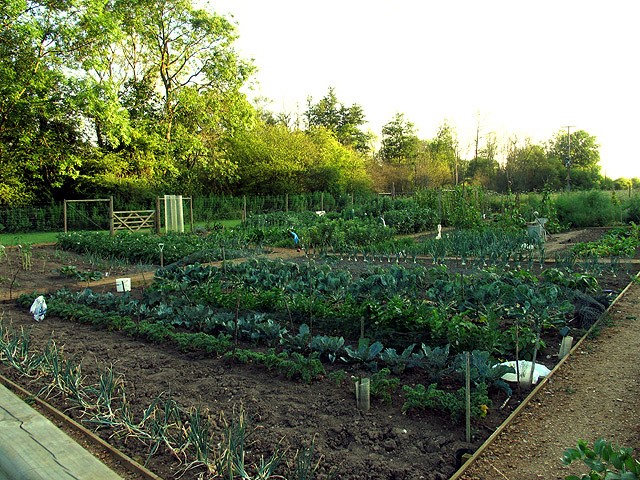
An allotment is a plot of land that you rent from your local council or a private landowner on which you can grow your own food. Allotments are communal places, so you rent a plot from an allotment site and share utilities such as water and fertiliser with the other plot owners.
You can use your allotment to grow anything you want. Most commonly, fruit and vegetables that thrive in the British climate are grown, while greenhouses can be used to grow produce that requires a warmer climate. You can even keep small farm animals such as chickens, goats, and sheep on your plot, depending on the rules in your allotment.
Are allotments sustainable and are they good for the environment?
Allotments are extremely good for the environment. Growing you own food locally will significantly reduce your carbon footprint, as the food you grow will involve much less packaging and transportation than the shop-bought equivalent.
If you choose to grow organic food, this will also help the environment, as there will be less harmful pesticides and chemicals in the soil. The lack of pesticides on the food you eat will also have tremendous health benefits.
How do allotments work?
There are three types of allotment, and each works in a different way:
- Statutory allotments: These cannot be sold on or used for other purposes without the consent of the Secretary of State for Communities and Local Government. These council-owned allotments are the most secure you can own, and as long as you actively use your plot and keep it tidy, it’s unlikely to ever be sold.
- Temporary allotments: Although owned by the council, these allotments are not protected from disposal and can be sold, making them less secure than their statutory counterparts.
- Privately owned land: Private landowners can also rent out property as allotments. These plots have no association with the council, and are entirely in the control of the landowner.
How do I rent an allotment?

In order to rent a plot on any kind of allotment, you will need to get in touch with the landowner. In the majority of cases, this will be the council. You can apply for an allotment from your local council on the Directgov website. If there are no allotments owned by your local council available, you can find privately owned plots through the National Allotment Society and the Federation of City Farms and Community Gardens. You may be assigned a plot straight away, but, due to the current popularity of allotments, it’s much more likely that you will be put on a waiting list.
When you lease an allotment, you pay rent to the landlord. This goes towards the water rates and general upkeep of the allotments. This sum is at the discretion of the landlord, although it rarely exceeds more than £100 a year. Your contract will generally last until either you choose to terminate it or you stop maintaining your plot and allow it to become overgrown. Your landlord will normally give you a warning before cancelling your contract, which generally has a three-month notice period.
What can I do if no allotments are available in my area?
If a group of six or more people on the electoral roll make an application requesting allotment land, your local authority has a legal duty to consider this. However, even if the council recognises the demand, there is no timeframe within which they have to provide allotment land — and no guidelines on the size it should be. Rallying more support from fellow citizens could help, but the decision is ultimately in the authority’s hands.
What does running an allotment involve?
Allotment holders are required to sign a tenancy agreement with their landlord. These agreements will outline what is expected of you as a plot owner, which commonly includes keeping your allotment clean and maintaining it in a good state of cultivation, as well as keeping minor paths clear and children and pets under control.
The tenancy agreement will also cover what you can and can’t do with your plot. Some allotments will allow you to keep livestock and bees or even install a pond, while on others, you may require planning permission in order to erect a greenhouse or shed. You are usually forbidden from using your plot as a business or sub-letting it, allowing your plot to deteriorate, or using sprinklers when you are not there.
In return for sticking to these rules and paying your rent on time, as a plot owner you should expect to receive:
- Safe and secure access to the allotment
- Access to a water supply
- Access to communal fertiliser
- Adequate security measures against vandalism
What size are allotments?
 Although there are no official guidelines dictating the size an allotment should be, the accepted size is approximately 250 square metres. This is enough to grow food for a family of four. If you’re daunted by the idea of tending to a plot of this size, it’s common for people to rent out half- or sometimes even quarter-sized plots. At the other extreme, keen gardeners with the time to spare may be able to get two plots beside each other if they’re lucky.
How much does is cost to run an allotment?
One of the main reasons people start an allotment is to save money on their grocery bills. However, running a vegetable plot isn’t without its own costs, especially at the start of the process. Here’s a breakdown of each expense you should expect to pay while running an allotment.
Annual rent
Most landlords collect your rent in a lump sum at the start of each year. This can cost anywhere from £10 up to £150, depending on the location of your allotment and how in-demand its plots are. The rent generally includes the water bill, but you may have to pay an additional fee at the start in order to get a key for the front gate.
If you get your allotment part way through the year, it’s common practice for you to pay rent for the remaining months of the year in a lump sum when you receive the allotment.
Tools
If you don’t already have them, you’ll need to purchase some basic tools for your allotment. To get started, you’ll need a spade, fork, rake, hoe, and trowel — if there’s going to be more than one person working on your allotment simultaneously, you may want multiples of each. With the exception of the trowel, which will cost around £5, these items will cost about £15 each if purchased brand new from a garden centre, taking you to a total of around £65. To save money, you can purchase second-hand items from websites like Freecycle and Gumtree, as well as local jumble sales. You might also get lucky and inherit tools from the former plot holders, but this is quite uncommon.
Fruit
Depending on how mature you buy them, fruit plants will be the biggest expense of setting up your allotment. An established plant that is two or three years old and already producing a lot of fruit will cost you around £10. This may seem steep compared to seeds, but keep in mind that you’re likely to recoup that cost in the first year alone from the harvest you get from it. Younger varieties cost much less, but won’t produce fruit for a few years after they’re planted.
Remember that once your fruit plants are established, you’ll be able to increase your yield through cuttings, which won’t cost you anything.
Seeds
If you already have some experience growing fruit and veg and know exactly what you want, you’ll be able to purchase a few years’ worth of seeds for around £20. However, if you’re new to growing your own food, it will take some experimentation to see which plants you enjoy growing. With this in mind, expect to pay about £40 on seeds in your first year, and then around £20 on seeds each year afterwards.
Other essentials
The rest of your expenditure will be made up of various essentials you won’t be able to run your allotment without. These will include items such as:
- Watering cans
- Gardening gloves
- String
- Bamboo canes to make wigwams and fences to support climbing plants
- Plant pots and potting compost for growing seedlings
- Chicken wire and nets to protect your plants from birds
- Pallets, plants, and stakes for building raised borders
- Gardening books
These costs will all add up, but you’ll only have to buy most of these items once. This means that although the upfront cost of setting up your allotment will come to a few hundred pounds, it won’t cost you much at all to run after this first year.
Moreover, depending on how successful of a horticulturalist you are, you should easily make back the money you spend on your allotment on the savings you make on your weekly food shopping bill.
How to grow fruit and veg on your allotment
This section includes everything you need to know to turn your empty plot of land in to a flourishing allotment. Whether you consider yourself green fingered or not, if you stick to these tips you’ll achieve great results.
Clearing your allotment
Once you’ve got your allotment, the first step is to completely clear it of weeds. While you may have the fortune of taking over a working allotment, you’re more likely to inherit an overgrown and abandoned plot. The first thing you’ll need to do is completely clear it of overgrowth.
Unfortunately, there is no shortcut to clearing your plot. First, you should cut every weed down to a stubble, and then dig them out individually. Although it’s impossible to do this perfectly, you should make an effort to remove every single centimetre of root from the soil, as that’s all that needs to remain of a weed for it to grow back. For this reason, you should resist the urge to save time by using a tiller to clear an allotment overgrown with weeds, as this will chop the roots of the weeds up and disperse them around your allotment. Although weeding by hand is time-consuming, it will save you significant amounts of time in the future, so it’s a very sensible investment of your time.
After the initial weeding, you should regularly hoe the ground when it’s dry in order to bring any remaining traces of the weeds to the surface before they have a chance to take root. Dispose of weeds in the general waste or by burning them, and never add them to a cold composting bin, as they’ll simply take root. You can, however, put weeds in to ‘hot’ compost bins, such as our ComposTumbler, as they make compost at naturally high temperatures, killing weeds in the process. You can browse our full range of composters here.
After you’ve taken the time to weed your allotment with hand tools when you first inherit it, a rototiller is an essential piece of equipment for the following years, as it allows you to till an entire allotment’s worth of soil ready for planting in a matter of minutes. Take a look at our full range of range of tillers here.
Understanding your allotment
After you’ve cleared your plot, the next step in planning your allotment is to take note of the conditions you’ll be working with. The way the sun hits your plot, how strong the wind hits it, and what soil type you have will all affect the types of plants you can grow, so you should evaluate your allotment before you start drawing up plans. It’s often worth having a chat with the holders of the neighbouring plots, as they may be able to tell you what’s worked for them in similar conditions to your own.
Why soil type matters
One of the most important things you need to know about your allotment is what kind of soil you’ll be working with. Here’s our advice on how to identify and work with your allotment’s soil type.
How to identify my soil type
The easiest way to identify your soil type is to scoop up a bit of damp soil and roll it in your hands:
- Sandy soil is dry and gritty to the touch, and when you roll it in your hands it won’t form a ball. Water drains rapidly through the large gaps in the particles of this soil, straight to a depth that the roots of your plants will find hard to reach.
- Clay soil is sticky to the touch, and will roll easily in to a ball. There are very small gaps between the particles in clay soil, giving it a tighter hold on plant nutrients and meaning it drains very slowly. However, this soil is very heavy to work with, especially when it’s dry, and takes a long time to warm up in the spring due to its high water content.
- Silty soil has a slightly soapy texture, and won’t form a solid ball when rolled. This soil type is very nutrient-dense, but, as it is made up of very fine particles, it compacts when you tread on it. If left without plant cover, it’s also vulnerable to washing away in heavy rain and eroding in strong winds.
- Loam soil is the ideal soil for gardening, and will form a smooth, partly gritty, partly sticky ball that crumbles easily. It contains a balance of sand, clay, and silty soil, and keeps a tight hold on water and plant food while draining well, and giving air plenty of room to move freely down to the roots.
How to work with my soil type
Each soil type has its own needs, and if you work with your soil type, you’ll get the best results.
- Sandy soil doesn’t retain water very well, but compost can be added to the soil to help it hold on to water and nutrients better. Fertiliser can also give sandy soil a boost of nutrients which will give the plants you grow a helping hand.
- Clay soil is nutrient rich, but very difficult to work with. Adding compost to this soil will help break it down in to separate crumbs, allowing water and nutrients to become more accessible to your plant’s roots. Breaking your clay soil up will also make it warmer and less prone to being compacted when you work.
- Silt soil will benefit from the addition of compost, which will bind the fine particles in to larger crumbs. This will make it more stable in harsh weather conditions and improve its drainage qualities.
- Loam soil provides a perfect balance for the garden, but it’s still important to regularly add compost and fertiliser to it, especially if you cultivate it heavily, as you will in an allotment.
How to plan your allotment’s layout
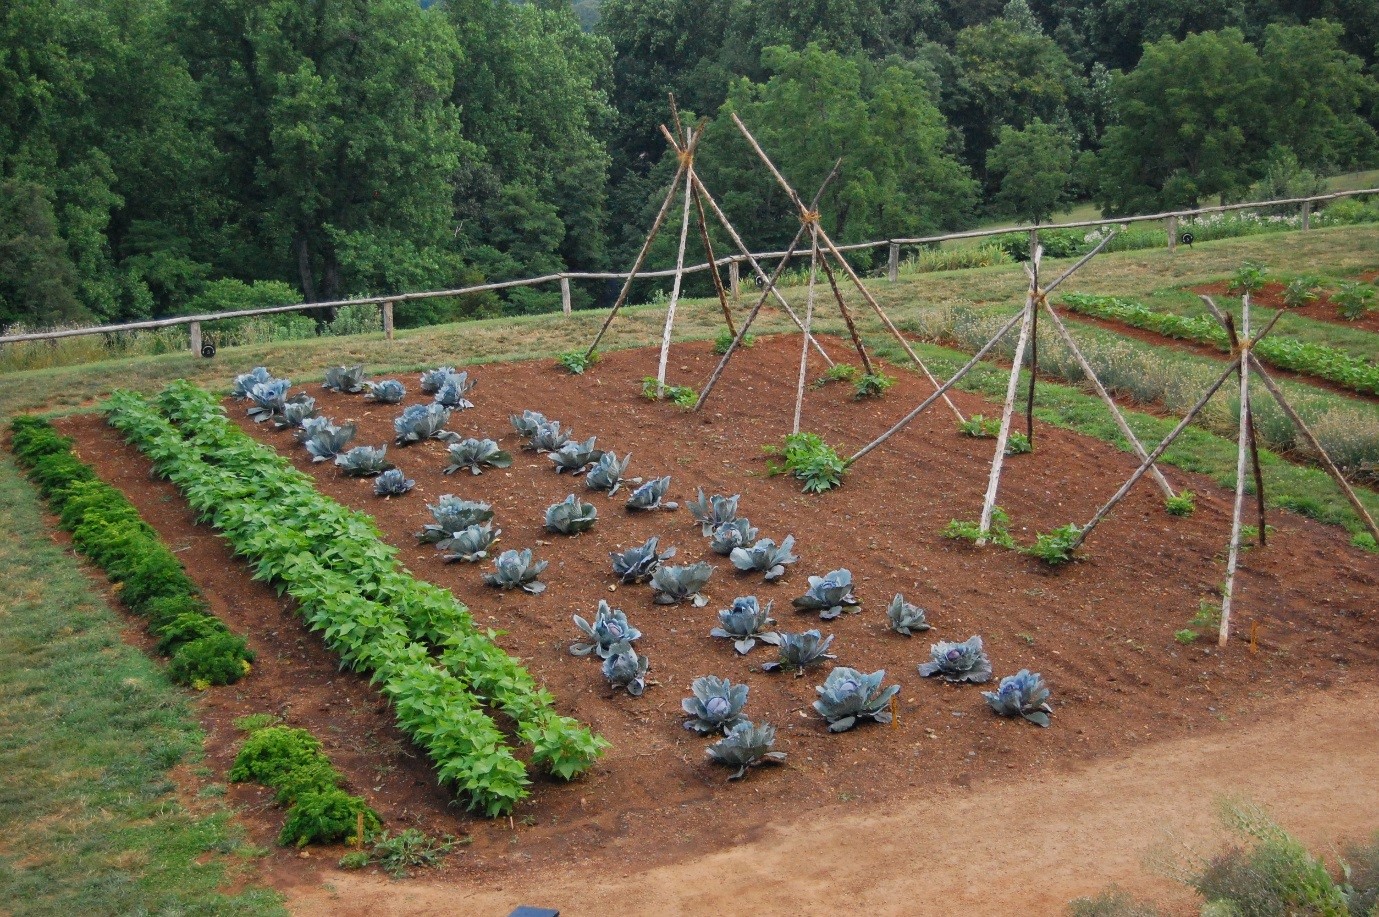 The first thing to consider in your allotment layout are the plants that will be a permanent feature. Fruit trees will live for decades, asparagus beds can last up to 20 years, and fruit bushes are long-term fixtures that will require cages and netting. If you’re planning on growing any of these long-lasting plants, they should be the first thing in your plans, as you won’t be able to move them at a later date without stunting their development.
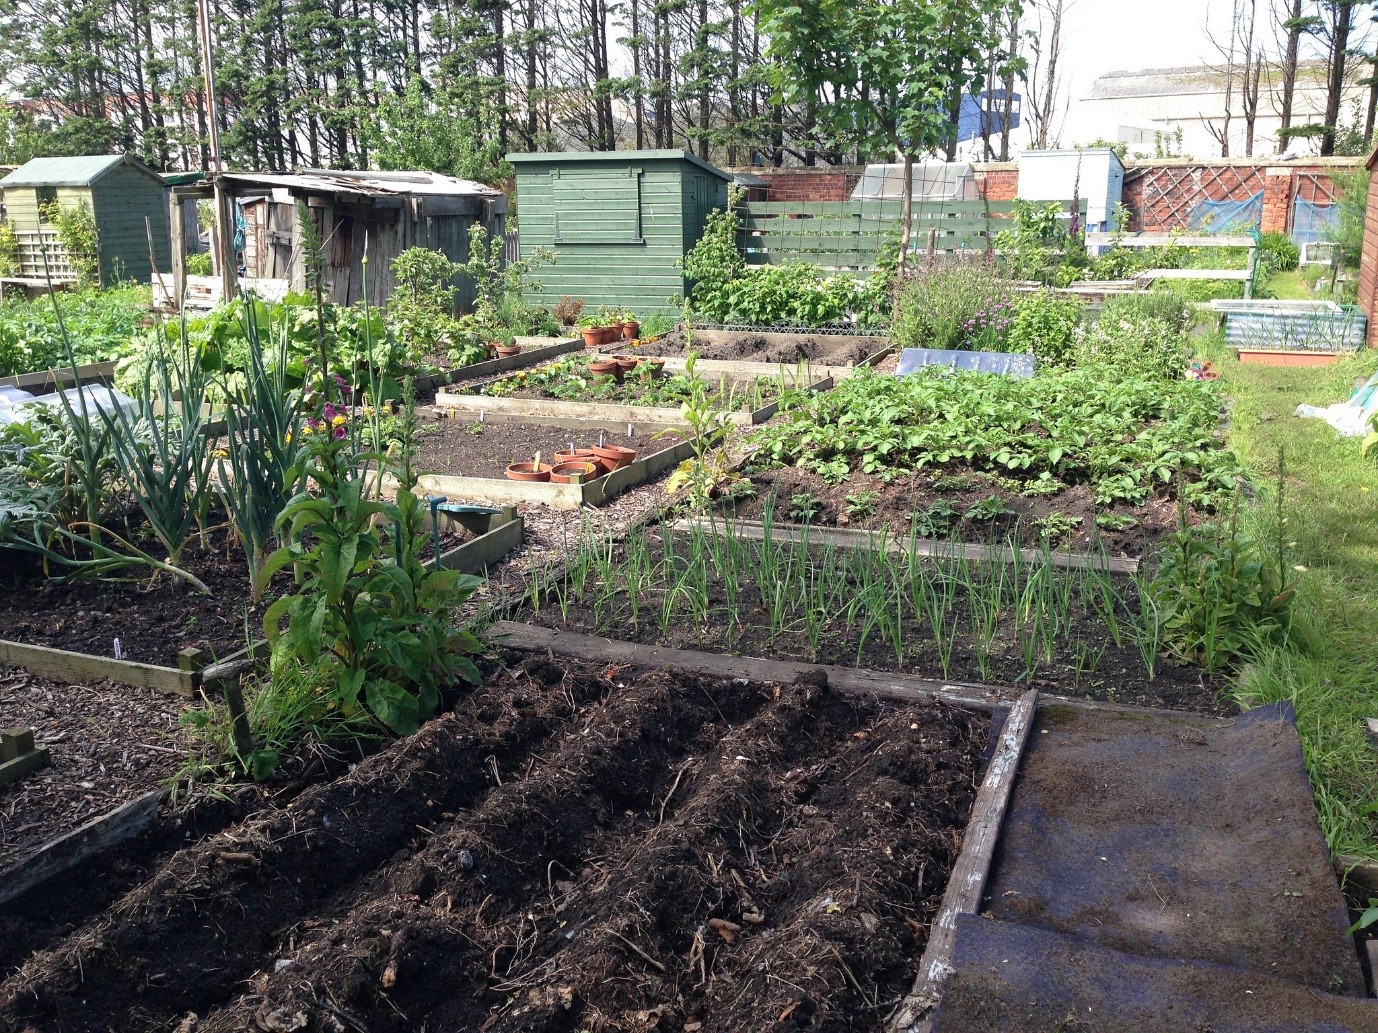
Another thing you should make a priority in your plans is the shed. Make sure to find room for it in a back corner of your plot, where the shadows it casts will have the least effect on your crops. Another priority should be your source of water — if there isn’t a hose near your plot, you might consider installing a water butt.
You should also make room at the back of your plot for a compost bin, an essential bit of equipment which will allow you to turn kitchen and garden waste in to mineral-rich fertiliser for your soil. Not only will this save you money, but it also helps the environment. Our ComposTumblers are perfect for an allotment, as their innovative design allows them to produce usable material for your soil in just 14 days. Neither model will take up much room on your plot, but they can both hold over 600 litres of compost at a time.
Where to place fruit in your allotment layout
Fruit bushes and trees will be the tallest crops you grow, so it’s a good idea to place them at the back of your allotment where the shadows they cast won’t affect the development of your other crops. Fruit plants are also much longer lasting than vegetables, so you should consider their placement more carefully than you do the other things you plant.
By planting your fruit bushes together you’ll be able to quickly and easily net them during the summer, which will prevent birds from eating all of the fruit you’ve grown. Their close proximity will benefit you when you’re picking the fruit, as you’ll have less space to travel, and it will also help discourage the growth of weeds.
Where to place vegetables in your allotment layout
When planning the layout of your vegetable plants, you should create at least three separate beds. This will allow you to perform crop rotation, which is essential for maintaining healthy plants. If you plant the same crops in the same bed each year, the soil will become drained of the nutrients that those particular plants use to grow. Furthermore, the bacteria and pests that thrive on that particular plant will learn to make a home beside it, giving you a pest problem.
As a rule of thumb, it’s a good idea to split your three beds up like this:
- Bed 1 should be treated with lime and used to grow brassicas such as cabbage, sprouts, cauliflowers and broccoli.
- Bed 2 should be treated with a general fertiliser and used for root crops such as potatoes, carrots, turnips, beetroot and swede.
- Bed 3 should be treated with manure or compost, and should be used to grow the crops that require the richest ground to thrive, such as peas, beans, onions, leeks, tomatoes, celery and courgettes.
Each year, you should rotate the crops on to the next bed, which will give the soil three years to replenish. You should also apply manure to all of the beds in your allotment every three years to give them a nutritional boost.
The standard layout of an allotment is a central path stretching from the front to the rear of the plot, with smaller paths leading off and giving access to the beds, which line the sides of the plot. Herbs are kept at the front, fruit and storage at the back, and the vegetable beds in-between. This is a tried-and-tested arrangement, but if you feel like experimenting, or if your plot is a shape that isn’t conducive to this layout, feel free to digress from the norm.
One of the biggest mistakes you can make, and a common one with overeager beginners, is to cram too many plants in to your allotment. Each plant needs room to develop to its full size, and overcrowding your beds will lead to disappointing results when you come to harvest your crops. The packet your seeds come in will advise you on how far apart they need to be planted, so make sure you stick to those recommendations. Refraining from overcrowding your plants will also help avoid gluts of one particular vegetable.
When planning the layout of your allotment, take in to consideration the needs of each vegetable, as well as what their size will be when fully grown. For example, squashes take up a lot of room, and should be grown in plenty of space so they don’t smother other plants, while leafy crops like lettuces benefit from the shade of other crops. Although most plants grow best in rows, keep in mind when planning your layout that isn’t the case for everything — sweetcorn, for example, thrives when grown in blocks. Make sure to do your research on the crops you’re looking to plant, and take their needs into consideration when making your plan.
Protecting your vegetables
Big, uninterrupted blocks of single crops encourage pests, so you should include room for some flowering plants in your designs, which will attract the insects who feed on those pests and therefore protect your crops.
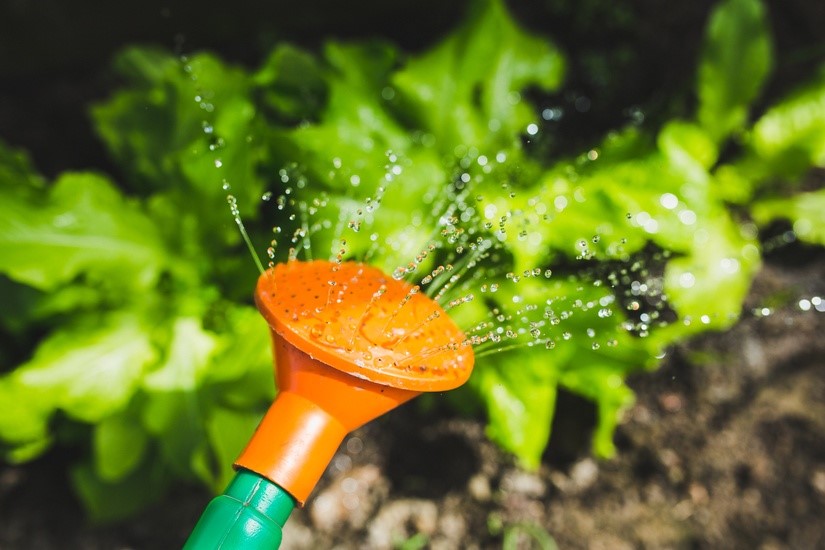
Furthermore, you should make sure to include adequate irrigation in your plot, as you don’t want the hard work you’ve put in to be ruined by a spell of heavy rain. This is especially important when your plants are young and vulnerable. An easy way to ensure your plants receive suitable irrigation is to use the planter attachment alongside one of our tillers to quickly create trenches where you can lay irrigation hoses. This will protect your fruit and vegetable plants from severe bouts of rainfall.
How to use raised beds in your allotment
Raised and ground beds suit different plants, so it’s a good idea to have a mix of the two in your allotment. If the quality of the soil on your plot is very poor, then raised beds enable you to create high-quality areas of deep topsoil to grow your crops in. Furthermore, if your plot is susceptible to waterlogging, raised beds will counteract this by artificially raising the ground level. Raised beds also allow you to plant closer together, which leaves less room for weeds to grow and so makes the upkeep of your beds easier.
However, constructing raised beds is labour intensive and relatively costly, and a lot of space is used up by the paths that surround them. Moreover, not all plants thrive in raised beds — potatoes, Jerusalem artichokes and sweetcorn all struggle when planted in a raised border. However, once your raised beds are set up, they’re easy to maintain and will last you decades.
Where to place herbs in your allotment layout
Herbs don’t need to be rotated, so you’ll be able to set aside a permanent bed for them if you’re planning on growing any. As you’ll be harvesting them a lot more than you will your other produce, it’s a good idea to put this bed at the front of your plot, which will give you easy access to it. Herbs also grow well in pots, so you don’t need to dedicate an entire bed to them if you don’t have the space for it.
What should I plant in my allotment and when?
This allotment calendar will show you exactly what you need to do throughout the year on your plot. Keep in mind that these are simply rules of thumb, and the correct time to complete each step will vary according to where you are in the country and the year’s weather.
January
- Order the year’s seeds, onion sets and seed potatoes.
- Start off garlic and shallots in pots and begin chitting potatoes inside a greenhouse or coldframe.
- If you have a heated greenhouse, you can sow sweet peas and French beans inside in pots or a propagator.
- Apply a potash dressing to the roots of strawberries, gooseberries and currant plants, taking care to avoid the leaves, as this will cause scorching.
February
- Sow lettuce, cabbage, peas and cauliflower in a heated greenhouse.
- Plant new rhubarb crowns just below the surface.
- If you’d like an early crop, plant broad beans in pots.
- Tie in new blackberry shoots as they appear and before they get too long, and prune back blackcurrant bushes.
- Start successional sowing of radishes and summer spinach.
- If the ground isn’t too hard or wet, sow your onion sets.
- Sow your first peas in pots in the greenhouse, or directly in the ground under a fleece or cloche.
- Cover your strawberry patch with fleece to keep the ground warm and protect the plants from the worst of the weather.
March
- Plant strawberries, raspberries, and parsnip seeds.
- Start successional sowing of chard, beetroot and spinach.
- If you’ve sown early lettuce, now is the time to thin it out.
- If you’ve any leeks left in the ground from last year, harvest them so you can dig over the land for new planting. If it’s warm enough, sow this year’s leeks in pots.
- Plant sunflower seeds in pots in a greenhouse or coldframe.
- Cut back autumn raspberries to the ground.
- Sow cauliflower, sprouts, and summer cabbage for summer transplanting.
- Dig all of your vacant vegetable beds over ready for spring planting.
April
- Plant early potatoes in the first week and maincrop varieties by the end of the month.
- Prune back gooseberries and currants.
- Plant early carrots, as well as any sweet peas you started off in the greenhouse.
- Sow courgettes, pumpkins, squashes, tomatoes, sweetcorn, beans, peas and mange-touts in pots in the greenhouse or coldframe.
- As your plants start to spring in to life, so will the weeds, so make sure to keep on top of them.
May
- Continue with successional sowing of your vegetables and salad crops.
- ‘Earth up’ your potatoes.
- Tie in new shoots on autumn raspberries and sweet peas.
- Plant out seedlings from your greenhouse such as beans, courgettes and squashes when the danger of frost has passed.
- Plant sweetcorn.
- Apply mulch to discourage weeds and help your soil to retain moisture, and continue to vigilantly weed, as well as to watch out for pests on your fruit plants.
June
- Start harvesting strawberries and gooseberries, as well as asparagus.
- Continue to earth up potatoes to ensure the best results.
- Thin out seedlings of beetroot, carrot and lettuce.
- Plant tomato plants in the ground and feed them regularly. June is also the time to plant out the leeks from your greenhouse.
- Pinch out the growing points of peas to ensure a large a crop as possible.
- Choose the strongest runners on your strawberry plants for propagation.
- Eight to ten weeks after planting them, dig up your early potatoes.
- Sow early turnips for an autumn crop.
- Net blackcurrant bushes.
- Keep fruit bushes and trees well fed and watered.
- Cut back herbs before they flower.
- Continue to keep on top of the weeding.
July
- Sow parsley for the winter.
- Thoroughly feed your vegetables.
- Start lifting onions and shallots towards the end of the month, leaving them on the ground to dry.
- Keep cutting back sweet peas.
- If they’re more than three years old, replace your strawberry plants when they’ve stopped producing fruit.
- Clear any beds where crops have been harvested.
- Continue to weed.
August
- Thoroughly feed and water courgettes and tomatoes, and pick them as they ripen.
- Cut back Jerusalem artichoke stems to around a foot from the ground.
- Sow maincrop turnips, and begin sowing successional rows of winter spinach.
- Keep on top of the weeding.
September
- Dig up maincrop potatoes.
- Start lifting Jerusalem artichokes.
- Harvest sweetcorn as it ripens, as well as early varieties of apple and pear.
- Sow winter salad and spring cabbages.
- Save and label seeds from annuals and perennials, and clean and store canes and other supports as they become free.
- Take cuttings of currants and gooseberries.
October
- Sow winter lettuce in your greenhouse or coldframe.
- Put a cloche over any French beans still growing to extend their season.
- Cut back your asparagus plants and cover them in a layer of manure or compost.
- Prune gooseberries.
- Sow early peas, broad beans, and spring bulbs.
- Stake your Brussels sprouts if necessary and remove any yellowing leaves.
- Harvest squashes, pumpkins, and any remaining beetroot.
- October is also the month to plant field-grown fruit trees in to your allotment.
November
- Begin harvesting leeks.
- Keep a close eye out for slugs and pests on winter lettuce.
- Prune your fruit bushes and trees.
December
- Assess what grew well and what didn’t over the year and begin planning next year’s crop rotation.
- Lift parsnips after the first frost.
How to grow common vegetables in your allotment
Follow these tips to successfully grow the most common vegetables grown on British allotments.
How to grow broccoli

Sow between March and June, in a greenhouse until April and outdoors afterwards. Feed with liquid fertiliser once a week.
Plant into full sun when the rootball is well bound together, allowing 30cm between plants and 45cm between rows. Fertilise the ground well before planting. Until May, cover the seedlings with fleece to prevent cabbage root fly.
Water every 10–14 days during dry periods, and net the plants when heads start being produced to protect from birds.
Harvest when the flower buds are well formed but before they begin to open. Cut the central spear first. This will be followed by a series of sideshoots, which can be picked regularly over four to six weeks.
How to grow broad beans

Sow directly in to the ground between March and April, 5cm deep and 20cm apart. They grow best in rows 20cm apart.
The beans will need a structure to climb up, so construct a fence beside each row out of several robust stakes and string.
Don’t be tempted to overwater your broad beans. Unless there’s a prolonged drought, they only need watering when they begin to flower, and then once again two weeks later.
The pods are ready to pick when they are 7.5cm long, which will be approximately 15 weeks after they were planted.
How to grow carrots
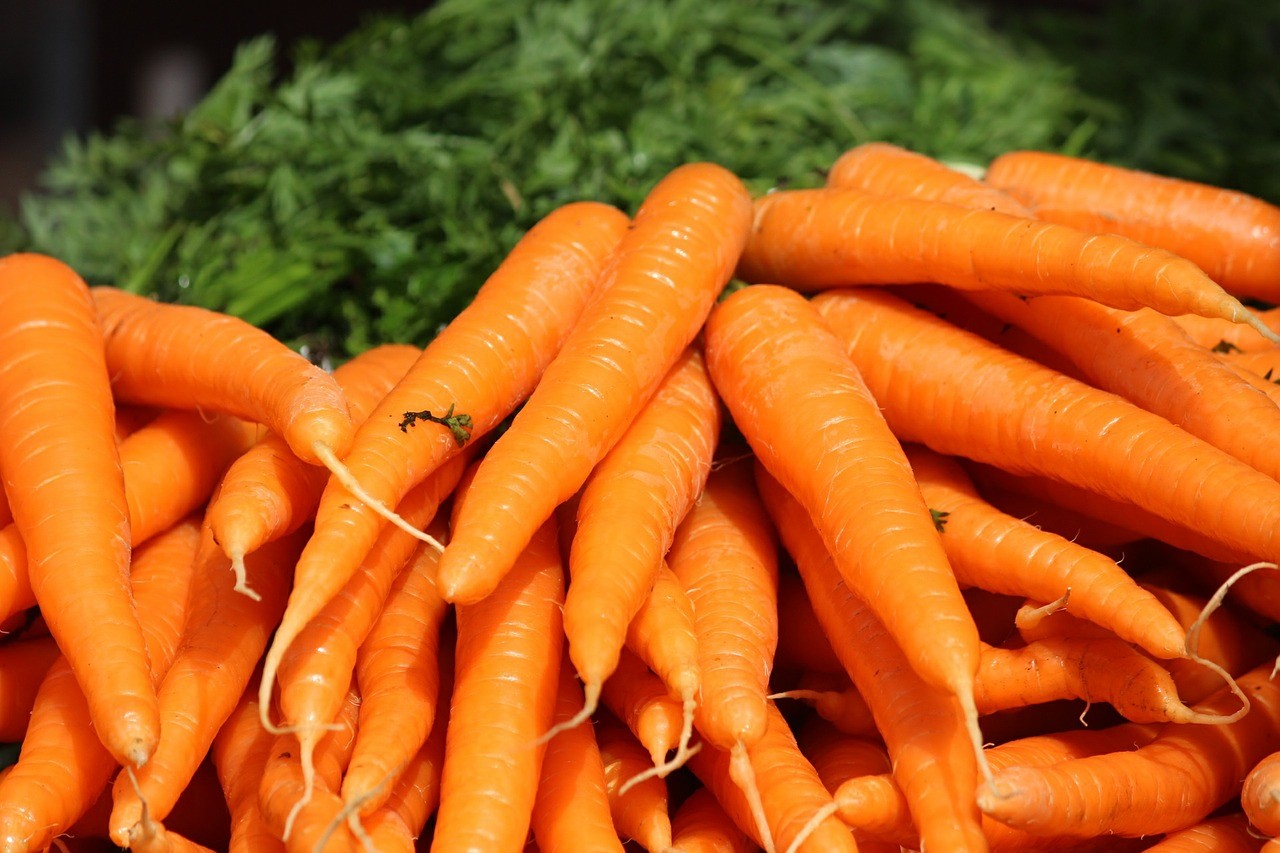
Sow maincrop carrots from April to early July, 1cm deep in rows 15–30cm apart. When they start growing, thin them to around 5cm apart for the best results.
The key to growing carrots is good soil — if your soil is stony, shallow, or heavy clay, it will stunt the growth of your carrots, so you’ll be better off growing them in a raised bed. Short-rooted varieties, which you can grow in pots, are also an option.
Carrots rarely need to be watered — a thorough watering every 10–14 days will suffice.
Don’t allow weeds to grow between your carrots, as they’ll crowd them out. When weeding, be careful not to damage the foliage, as the smell will attract carrot fly.
Harvest your carrots 12–16 weeks after sowing by carefully lifting them with a fork.
How to grow courgettes
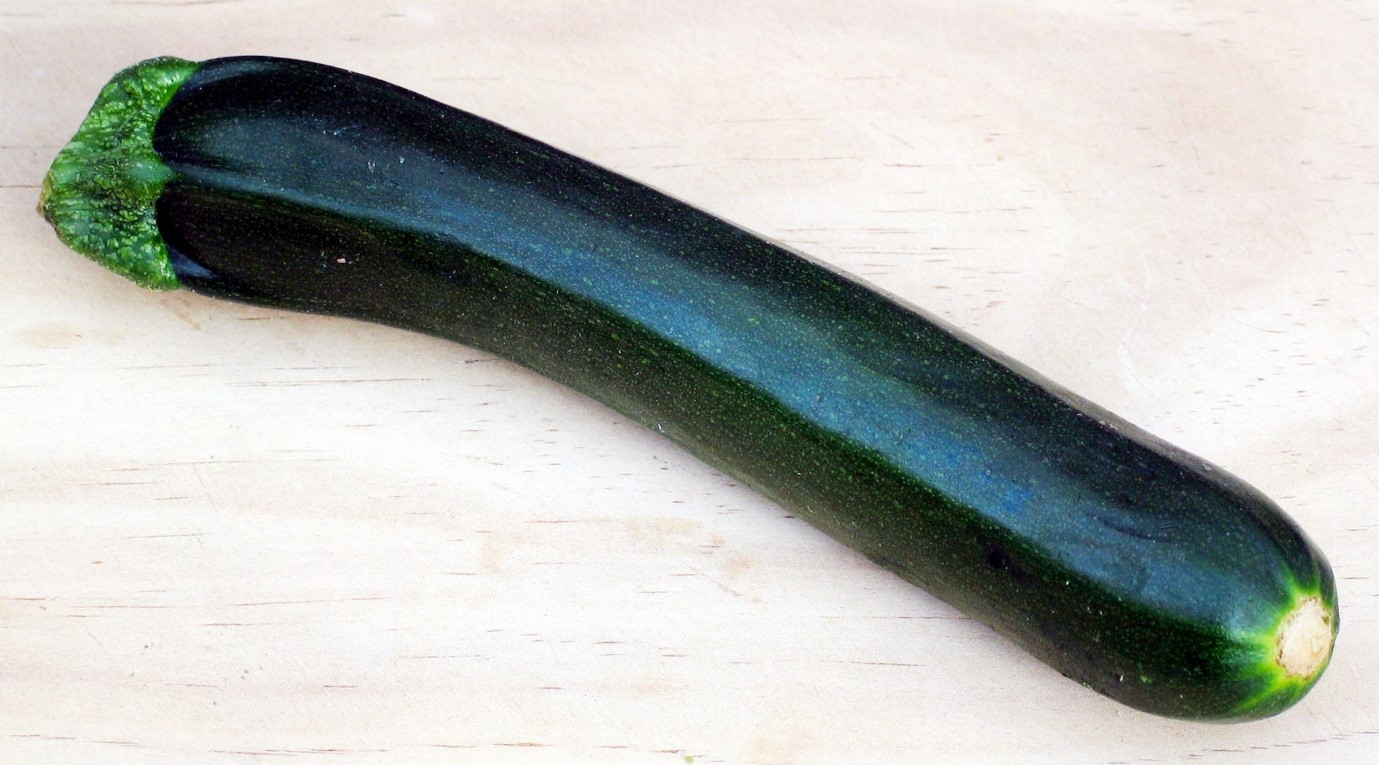 Courgettes should be sown in late May or early June. Two weeks before sowing, make planting pockets 90cm apart roughly the size of a spade’s depth, width, and height. Fill these with a 50/50 mix of compost and soil, and then cover with general fertiliser. Sow one seed about an inch deep in to each planting pocket and cover with a cloche or jar. Leave them covered until the plant has outgrown its container.
Courgettes can also be grown in growing bags or containers. Plant two per growbag, and one per 45cm-wide pot.
The most important part of growing courgettes is keeping the soil constantly moist. Do this by watering the soil around the plants, not the plants themselves. Once the fruit begins to appear, you should feed with a high potash liquid fertiliser every 10–14 days.
Harvest courgettes when they are approximately 10cm long. Picking the them regularly will promote a long cropping period.
How to grow onions
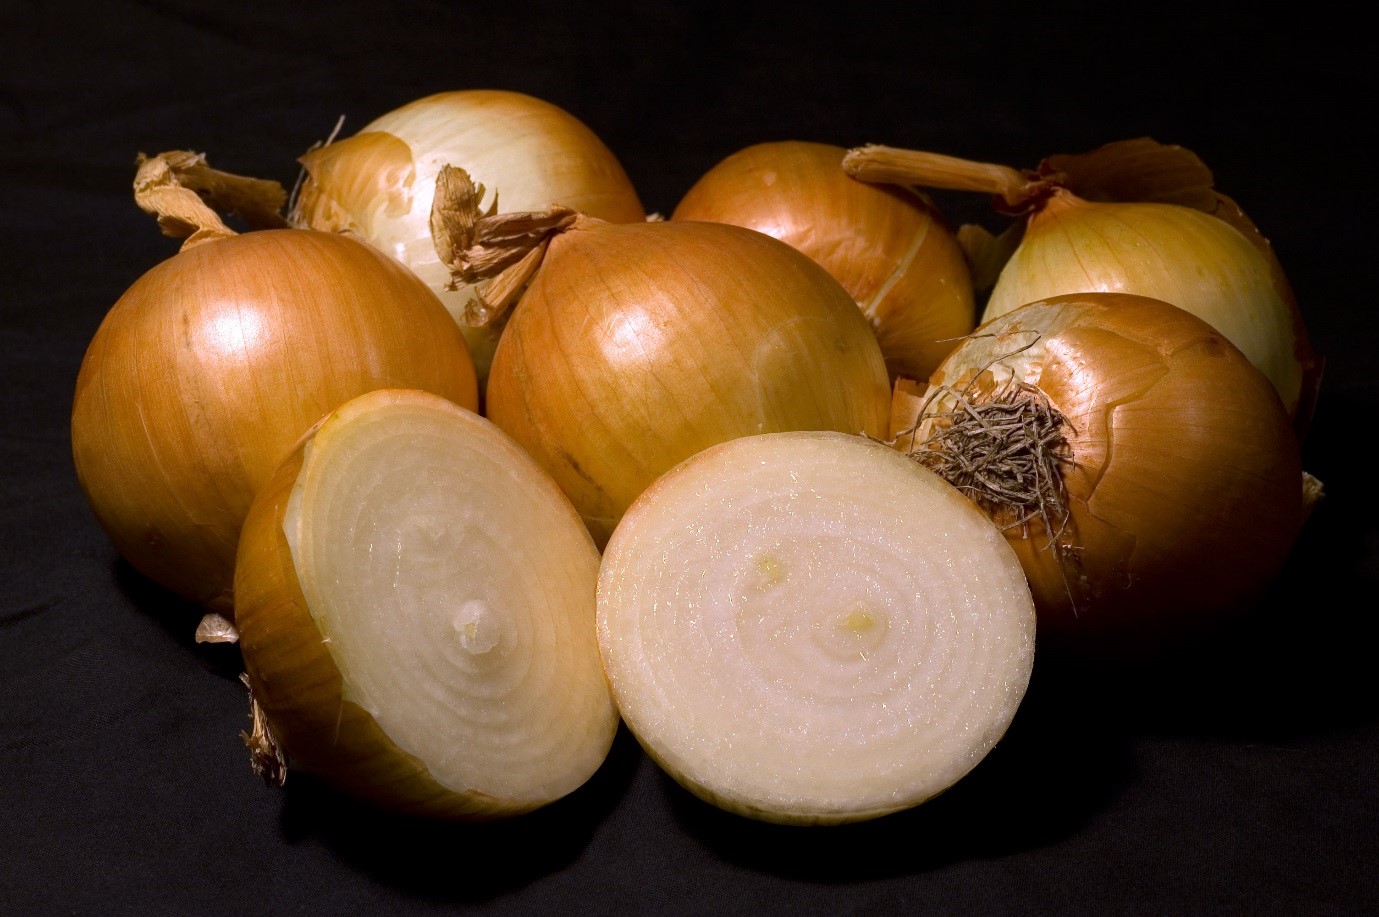 Plant onion sets from mid March to mid April on a sunny, sheltered site with deep soil. Onions are best suited to growing in the open ground, so avoid planting them in raised beds, pots, or growbags.
Plant onion sets 10cm apart in rows 30cm apart by pushing them into soft, well-worked soil until only the tip is showing, and then firming the soil around them.
Water them occasionally in dry weather, and mulch the ground around them to help them retain water. Give them a light feed of sulphate of potash in June to help ripen the bulbs ready for storage.
Remove any flower spikes as soon as you see them, and when the bulbs ripen, remove the mulch and some surface soil to expose them to the sun.
It’s time to harvest your onions two or three weeks after the foliage turns yellow and starts to topple over. Lift them out of the ground with a fork and leave them to dry in the sun or, if the weather doesn’t permit that, in a shed or garage.
How to grow potatoes
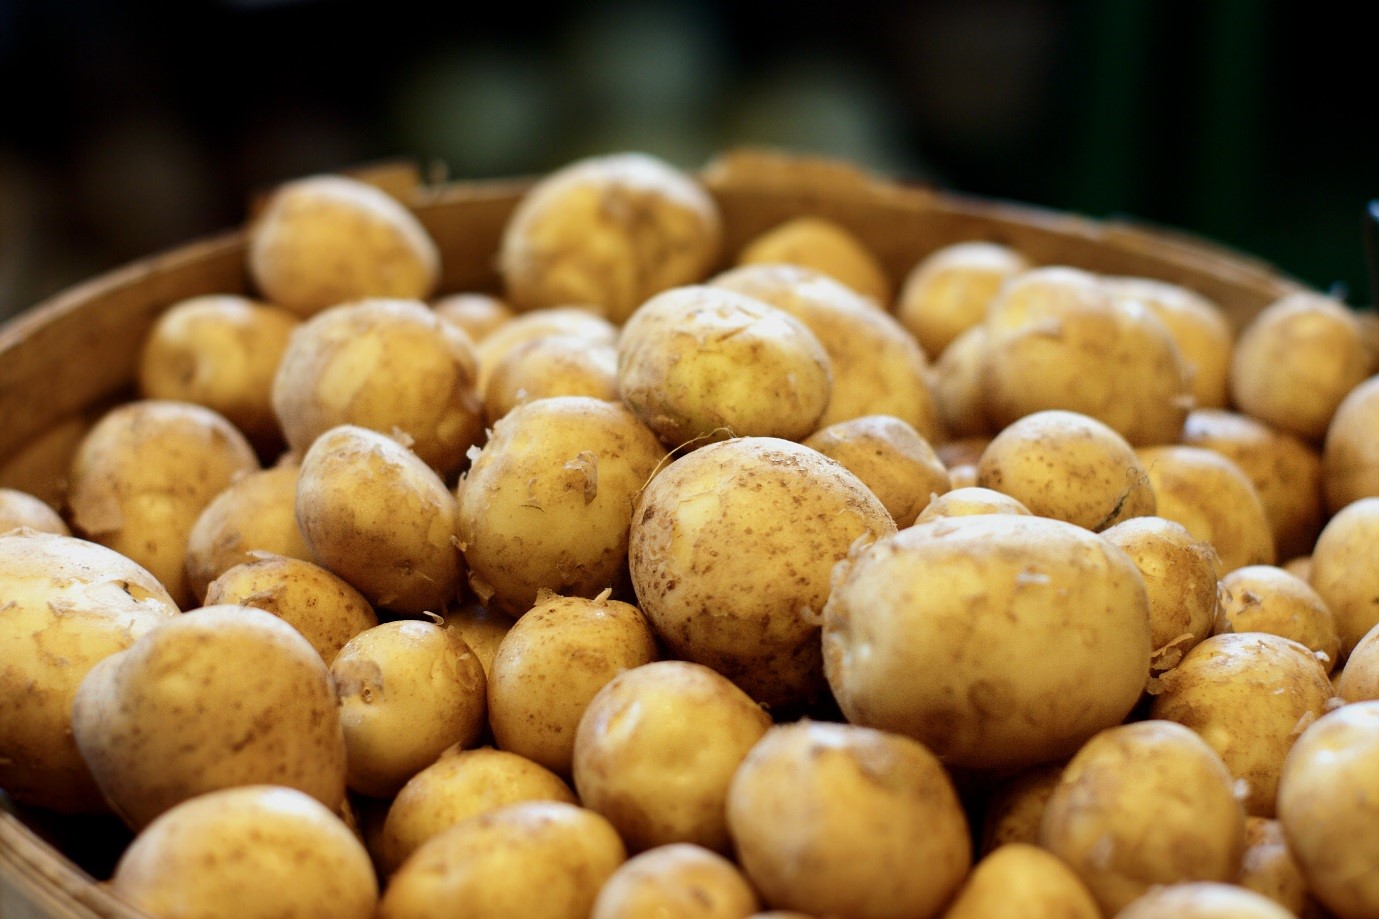 Maincrop potatoes should be planted from mid to late April. Before they are planted, they should be chitted. To chit your potatoes, stand them with the end with the most ‘eyes’ pointing upwards in an egg box, and place this on a windowsill that gets a lot of sunlight. They are ready to plant when the shoots are approximately an inch long.
To plant your potato tubers, dig a narrow trench about 12cm deep in a sunny site on your allotment. Line it with compost, and then place a tuber every 40cm along each trench. Trenches should be spaced 60cm apart.
When the stems of the potato plants reach approximately 20cm, start the process of ‘earthing up’ by drawing a mound of soil about two-thirds the way up the stems. This will protect your developing potatoes from sunlight, which can turn them green.
Keep potatoes well-watered throughout their growing cycle, and give them a liquid feed of general fertiliser once a fortnight.
How to grow common fruit
Follow these tips to grow the most common fruit grown on British allotments.
How to grow apples
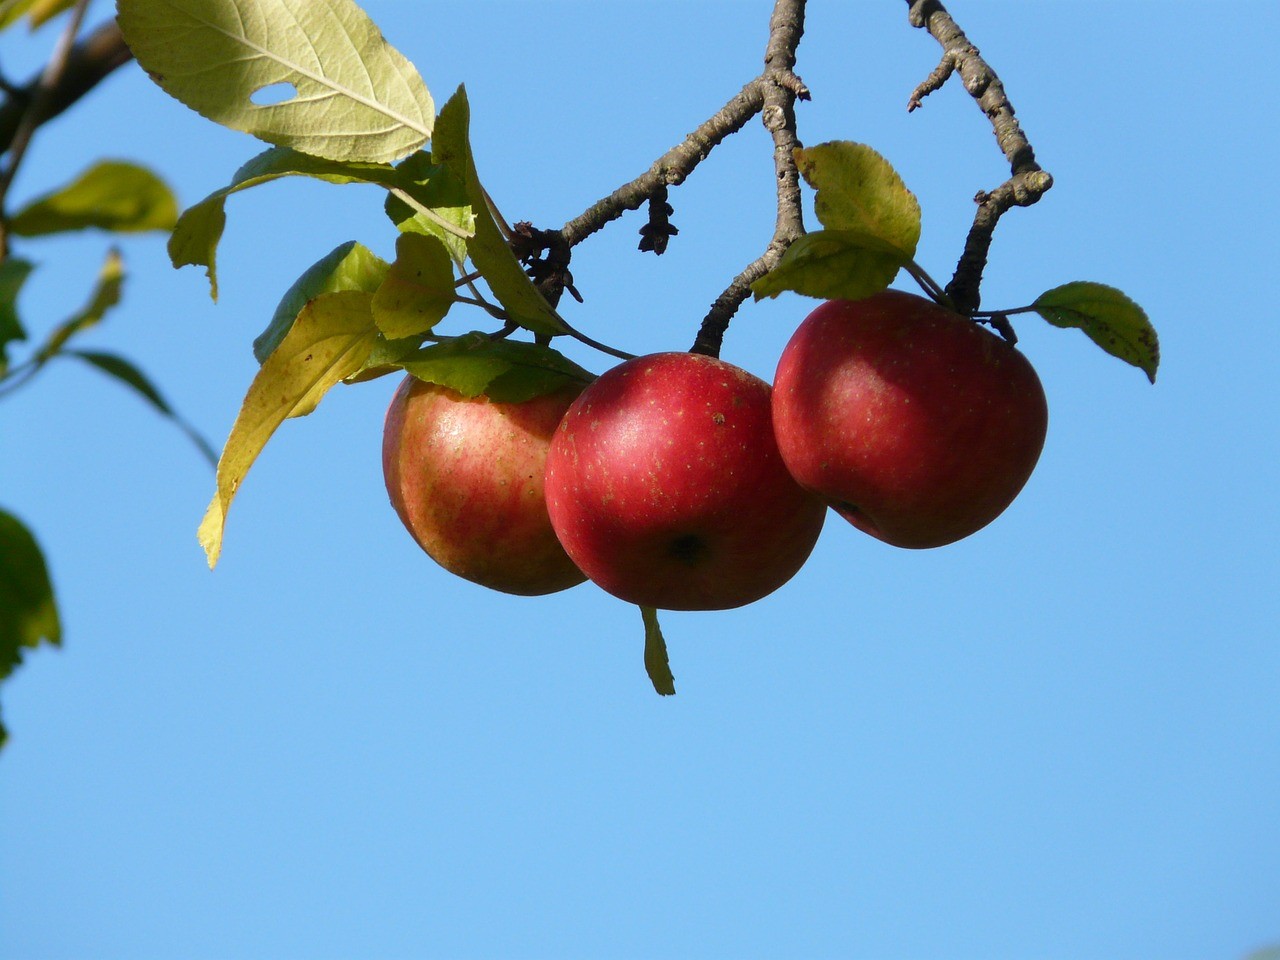
Growing apples from seed is impractical for most people, and you’ll be much better served by buying a young tree from a nursery to transplant in your allotment. These trees come in two types: bare-root stock, which have exposed roots when you purchase them and should be planted from late autumn to early spring, and container trees, which can be planted all year round.
The ideal place for an apple tree is a sunny and sheltered site well away from frost pockets. Plant your tree in a hole no deeper than the roots, but three times the diameter. Break up the surrounding soil with a fork before planting, and refill the hole by placing soil around the roots of the plant and gently compressing it with your feet to eliminate air pockets.
Once established, apple trees require very little upkeep. Simply water them during droughts and when the fruit starts to form, and sprinkle a general fertiliser around the base of the plant in early spring. The tree should also be pruned back when the tree is dormant.
The apples are ready to pick when they come away from the tree easily with a gentle pull and slight twist. Store your picked apples in a cool, dry place. It’s important to keep them well ventilated, so storing them in slatted wooden crates is ideal. Check them frequently and remove any apples showing signs of disease or rot, and they should store well for months.
How to grow gooseberries
 Bare-root gooseberries should be planted between late autumn and early spring, while container-grown plants can be planted at any time. Avoiding waterlogged or frozen soil, and plant your gooseberry bushes 5 feet apart. Mulch around the roots of the plants to help them conserve water, and water them about once a fortnight during dry spells.
To encourage a good yield, prune gooseberry bushes when they’re dormant, and in late winter feed them with a balanced granular fertiliser.
Gooseberries will be ready for harvest from the beginning of July, and should be picked gently, as they’re soft and prone to burst. Cover the plants with netting to discourage birds, and only remove it when you’re picking the fruit.
How to grow pears
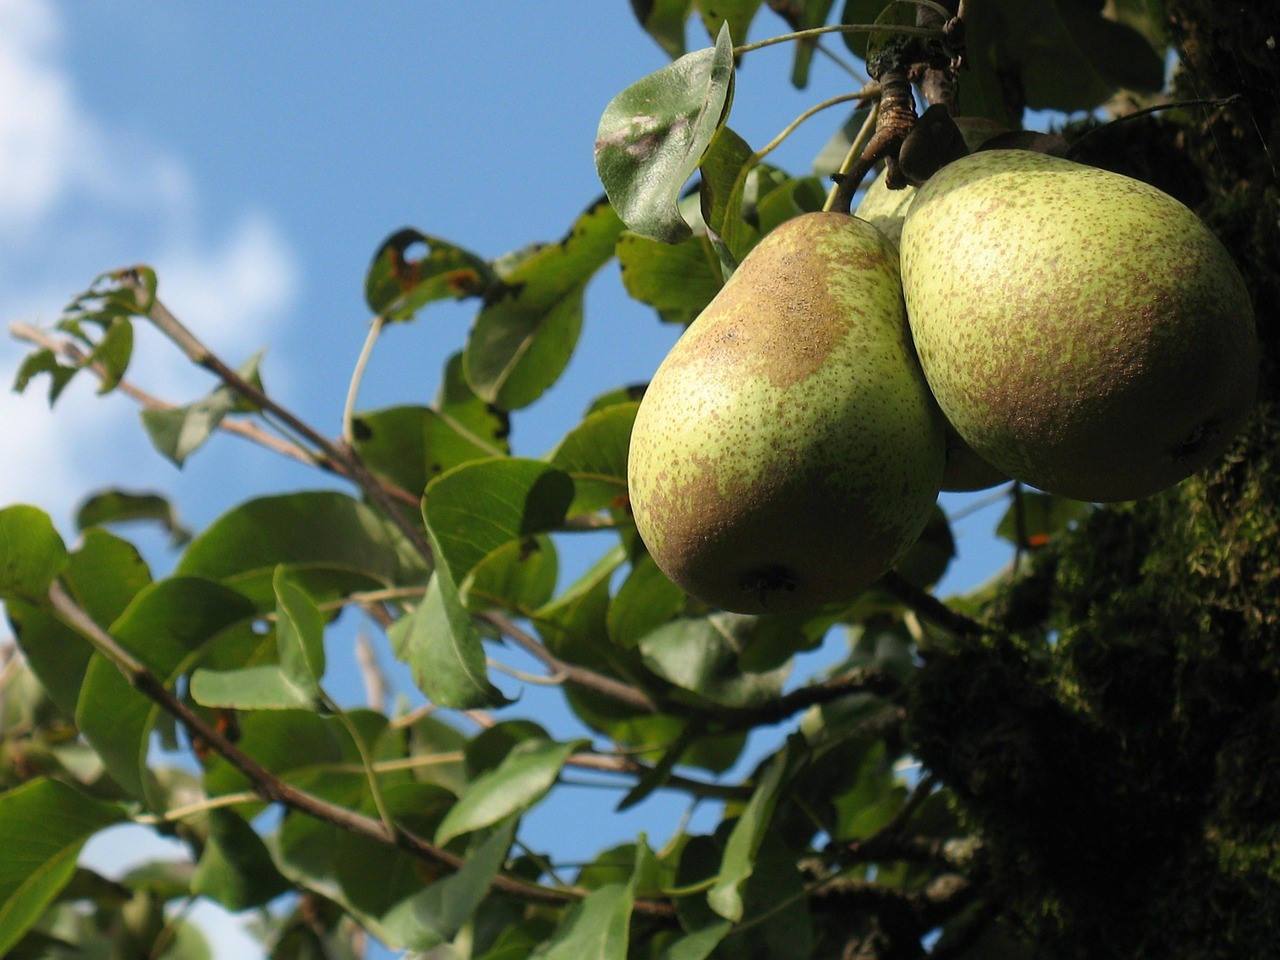
Bare-stock pear trees should be planted in the winter while they’re dormant, while container-grown plants can be planted at any time of the year. Place the tree in a sheltered site that gets lots of sun, well away from any frost pockets that form during winter.
Plant your pear tree in a hole as deep as the root system of the tree and three times the diameter. Refill the hole with loose soil, being careful to eliminate any air pockets by gently compacting the soil as you go.
Prune your pear tree every winter and spread fertiliser around its roots in early spring to encourage a greater yield. You should also water it during any particularly dry spells.
Pick the fruit just before it’s fully ripened, when it’s still firm. Ripen the pears on a windowsill until soft, which will usually take a week or so.
How to grow raspberries

Whether you choose bare-root or container plants, raspberries should be planted during the dormant season, between November and March. Choose a sheltered and sunny spot with a slightly acidic soil that is well-drained and weed free. Space the plants around 45–60cm apart in rows that are about one-and-a-half metres apart, then cover them in a 7.5cm thick layer of mulch.
Raspberries are climbing plants, and should be trained up a post and wire system. Tie emerging shoots to the support wires as they grow to encourage strong growth.
For the best results, apply slow-release general fertiliser followed by a layer of compost to the plants in early March. You should also prune the plants when they stop producing fruit, cutting back the fruited canes to ground level and selecting the strongest young canes for next year’s growth, tying them around 10cm apart up the wire supports.
Pick raspberries as soon as they turn deep red, preferably on a dry day. Once picked, eat the fruit within a few days, or alternatively open freeze them for later consumption.
How to grow strawberries
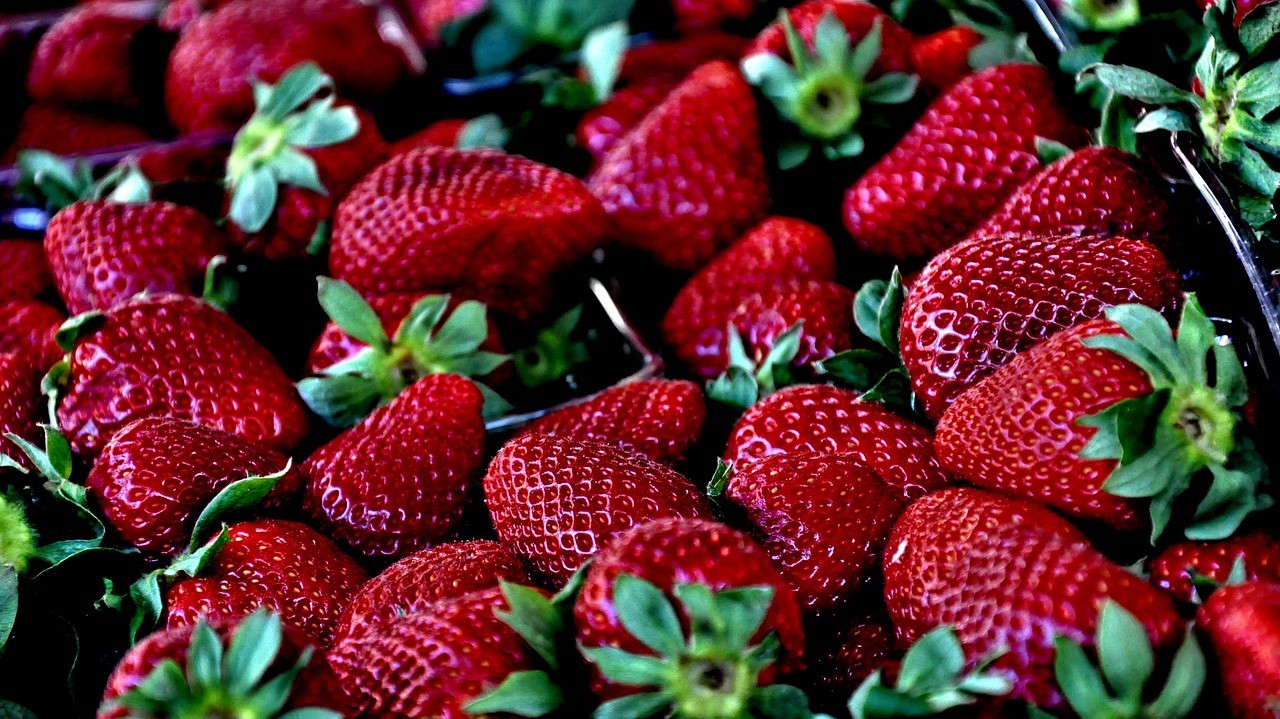
If you’re growing your strawberry plants from cold-stored runners, you should plant them between late spring and early summer, and they’ll fruit 60 days after planting. Container-grown plants can be planted at any time of year.
Plant your strawberries in a sheltered site that gets lots of sun and has fertile, well-drained soil. You should avoid planting them on soil where you’ve previously grown potatoes or tomatoes, as they are all susceptible to the disease verticillium wilt.
Plant your strawberries about 30cm apart in rows, and leave 75cm between each row. If you’re planting container-grown plants, ensure that the crown of the plant rests on the surface of the soil. Water each plant well, and then cover the surrounding earth with black polythene, cutting holes for your plants to grow through. This will stop the fruit from rotting on the soil, as well as supress the growth of weeds.
Water the plants frequently while they’re establishing, as well as during dry periods while it’s the growing season. Make sure to water the surrounding soil rather than the plant itself, to avoid rotting the crown.
Feed your strawberry plants with liquid tomato feed every week during the growing season, and add a general fertiliser to the plants in the early spring. After the growing season is over, remove all of the old leaves from the strawberry plants and the black polythene from the ground.
Strawberry plants will produce a successful yield for three years, after which you should replace them. Rotate your next crop to another bed to allow the nutrients in the soil to replenish, as well as to minimise the build-up of pest and diseases.
Pick strawberries when they are bright red all over, and eat them as soon as possible, as they don’t keep well.
Follow the steps we’ve outlined in this guide and you’ll have an allotment that provides you with an abundance of fruit and veg for years to come.
To make gardening easier, take a look at our full range of gardening equipment.
Beautiful post ! I have understood the new tricks for planting fruit vegetables. Thanks for sharing such an informative blog.
Having a Mantis cultivator I am a keen gardener and allotment holder.
What you say is a lot of sense and full of useful information.
Well done, keep up the good work!
Thank you for a very comprehensive post!
Mrs Philpot